Search This Supplers Products:Quartz sink ,Granit sink
Household stainless steel sink installation steps
time2019/08/14

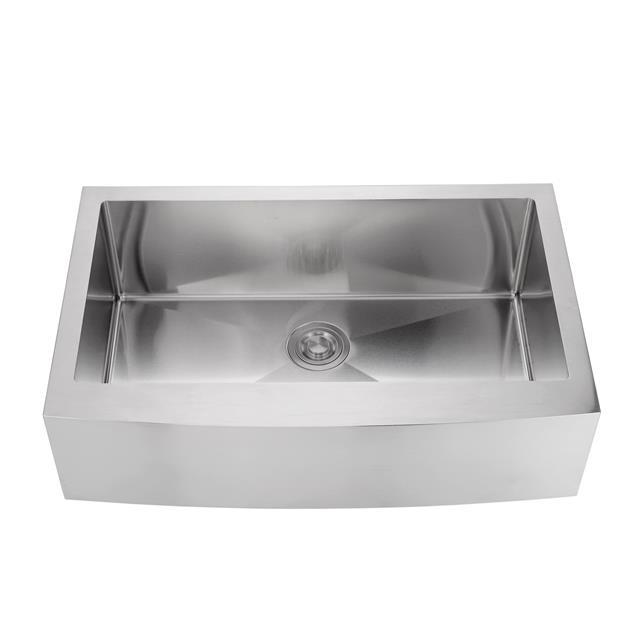
- Many people will complain that their sinks are rusted again! There may be two reasons for rust. One is that you may not buy a stainless steel sink, and the other may be that the stainless steel sink you bought is not very good quality! Today, I want to introduce you to the household stainless steel sink.
Household stainless steel sink installation steps
The first step: the kitchen must have a place where the stainless steel sink is installed. When purchasing the sink, pay attention to its size, so as not to need to change it again.
Step 2: Check if the accessories for the stainless steel sink are complete.
The third step: first install the faucet, put the gasket on, and tighten the knob to prevent the faucet from loosening.
Step 4: Tighten the two inlet water pipes into place.
Step 5: Install the soap dispenser.
Step 6: Apply silica gel to the drain pipe joint.
Step 7: Apply the rubber pad after installing the rubber pad.
Step 8: Match the drain pipe to the overflow of the stainless steel sink.
Step 9: Fix the overflow to the drain pipe with a screwdriver.
Step 10: Install the bottom of the water purifier.
Step 11: Place the stainless steel sink with the fittings on the table that has been opened.
Step 12: Place the rubber gasket at the interface of the drain pipe.
Step 13: Tighten the 2 out ports of the drain pipe.
Step 14: Continue to install the drain pipe of the stainless steel sink.
Step 15: Dock another part of the pipe to the main body.
Step 16: Connect the drain pipe at the overflow to the main body.
Step 17: Bond the sink to the countertop with silicone.
Step 18: Put the drainer basket.
Step 19: The installation of the drainer is completed.
Step 20: Stainless steel sink installation completed