Search This Supplers Products:Quartz sink ,Granit sink
Introduction to the top ten steps of stainless steel sink installation
time2019/05/13

- Introduction to the top ten steps of stainless steel sink installation
The kitchen stainless steel sink is the kitchen household goods, the installation is more cumbersome, then what are the steps to install the stainless steel sink? I will share it for you.

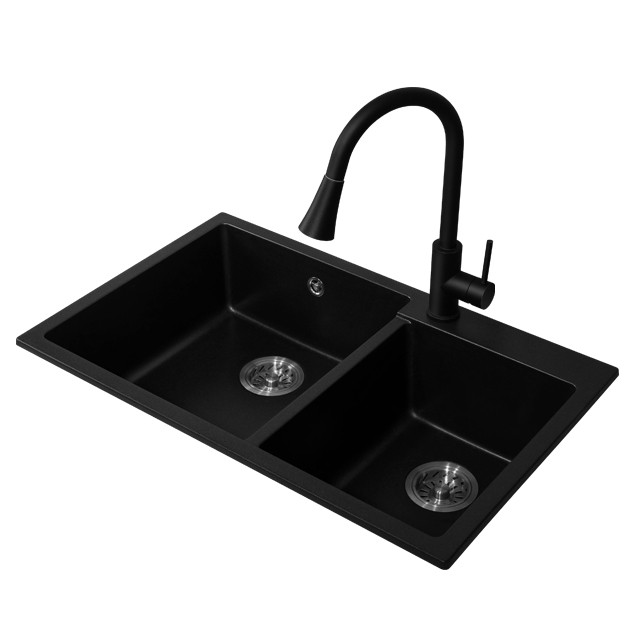
Stainless steel sink installation process: preparation work → faucet installation → placing the sink → starting installation → installing the overflow hole, the drain pipe of the filter basket → installing the integral drain pipe → installing the finishing tail → the groove sealing edge.
1, preparation work
The installation of the stainless steel sink needs to be left out, and the style of the sink selected by each household is different. Therefore, the position of the sink left on the countertop should match the volume of the sink. The approximate size of the sink should be paid attention to avoid rework or size. The right question.
The width of the countertop can be the width of the sink.
45 cm countertop, the outer diameter of the sink is less than 38
50 cm countertop, the outer diameter of the sink is less than 43
55 cm table top The outer diameter of the sink is less than 48
This is the basic theoretical value, and it is best to re-determine it with the cabinet company.

2. Faucet installation
The faucet and inlet pipe should be installed before the stainless steel sink is installed. When installing the faucet, not only the installation is required to be firm, but also the water penetration at the joint is not observed. When purchasing the faucet, please pay attention to the installation of the required fixing parts, preferably pure copper or stainless steel to prevent rust and rot.
3, place the sink
After installing some of the functional accessories of the sink, you can place the sink in the corresponding position in the countertop and prepare to start the next installation procedure.
4, start the installation
Install the inlet pipe of the faucet. Connect one end of the inlet pipe installed on the faucet to the inlet switch. Pay attention to the firmness of the joint when installing. Do not be too tight or too loose. Also pay attention to a detail, that is, the position of the hot and cold water pipe should be left. Hot right cold, many families did not follow the rules, resulting in the opposite direction of temperature adjustment of the faucet handle switch when using water.
5. Install the drain pipe of the overflow hole
The overflow hole is a protection hole for avoiding the overflow of the water tank. Therefore, when installing the water pipe under the overflow hole, pay attention to the sealing property of the joint with the tank body, and ensure that the water pipe of the overflow hole does not leak water. It is best to seal with glass glue.
6. Install the drain pipe of the filter basket
When installing the down pipe under the filter basket, pay attention to the connection between the water pipe and the tank body, not only to be firm, but also to be sealed. This is a key part of the problem with the sink, and it is best to be cautious.
7, install the overall drain
Usually people buy a tank with two filter baskets, but the distance between the two sewer pipes is very close. When the workers are installed, the matching drain pipes will be cut according to the actual situation. At this time, pay attention to each interface. The seal between the two.
8, the installation finishes
Carry out the drainage test. After the basic installation is completed, install the filter basket and start the next experiment. When doing the drainage test, it is necessary to fill the water tank with water and test the drainage of the water from the two filter baskets and the overflow hole.
When draining, if you find that there is water seepage, you should immediately rework, and then fasten the cap or glue to ensure that it will not be used in the future.
9, the edge around the tank
After the drainage test is completed, the sink can be sealed with no problems. When sealing with glass glue, make sure that the gap between the water tank and the table top is even and there is no water seepage.
10, complete the sink installation
After the edge sealing is completed, the installation of the stainless steel sink will be completed smoothly. Although the sink is small, because it is used more frequently, the connection installation of each sewer is more critical.
The stainless steel sink installation steps look simple, but in fact you need to be careful and patient.